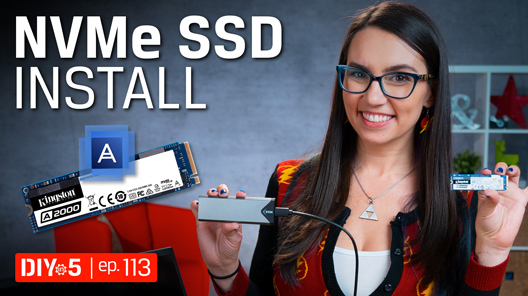
Installing a Kingston M.2 SSD (Solid-State Drive) is easy and will boost the performance of your computer significantly. Follow these steps below to speed up your device and free up storage.
How to Install an M.2 SSD

Step 1: Preparing Your Workspace
You’ll need to prep your workspace to safely and properly install your new Kingston SSD. Clearing your workspace of anything that can build up static electricity is important since it can damage your new M.2 drive.
- Gather your supplies. You’ll need your computer, a screwdriver and your new Kingston SSD along with your computer’s owner’s manual.
- Back up your important files. Before installing your SSD, save your important files from your old computer storage to an external SSD, a USB flash drive or Cloud storage.
- Take your time. You now have everything you need to install your new M.2 SSD. Your computer might look slightly different than the ones shown but the process should be the same. Read each step carefully and if you have difficulty with identifying your computer components; refer to your computer’s owner’s manual.
Helpful Tip: NVMe SSD support and drivers are not supported by Windows® 7. Try contacting your computer or motherboard manufacturer for further assistance. Microsoft® offers hotfix support for Windows® 7 that can natively support NVMe drives.

Step 2: Installing Your M.2 SSD
- Shut down your computer completely.
- Remove the power cable and battery. Only remove the battery if you’re installing a M.2 SSD into a laptop/notebook. Refer to your owner’s manual to see how to safely remove the battery.
- Discharge your battery. You’ll want to discharge potential static electricity that might be built up in your laptop battery. Remove the battery and hold the power button on your laptop/notebook for five seconds to discharge any residual electricity.
- Open the computer case. Each case is designed differently so refer to your owner’s manual to see how to properly open your case.
- Ground yourself as a precautionary step. Touch a metal surface that’s clear of any paint or coating to discharge any electricity that’s present in your body.
- Find the M.2 PCIe slot which should be easy to spot in a desktop computer. For laptops/notebooks, the M.2 PCIe slot is usually under the bottom panel or under the keyboard. Check your owner’s manual for further assistance.
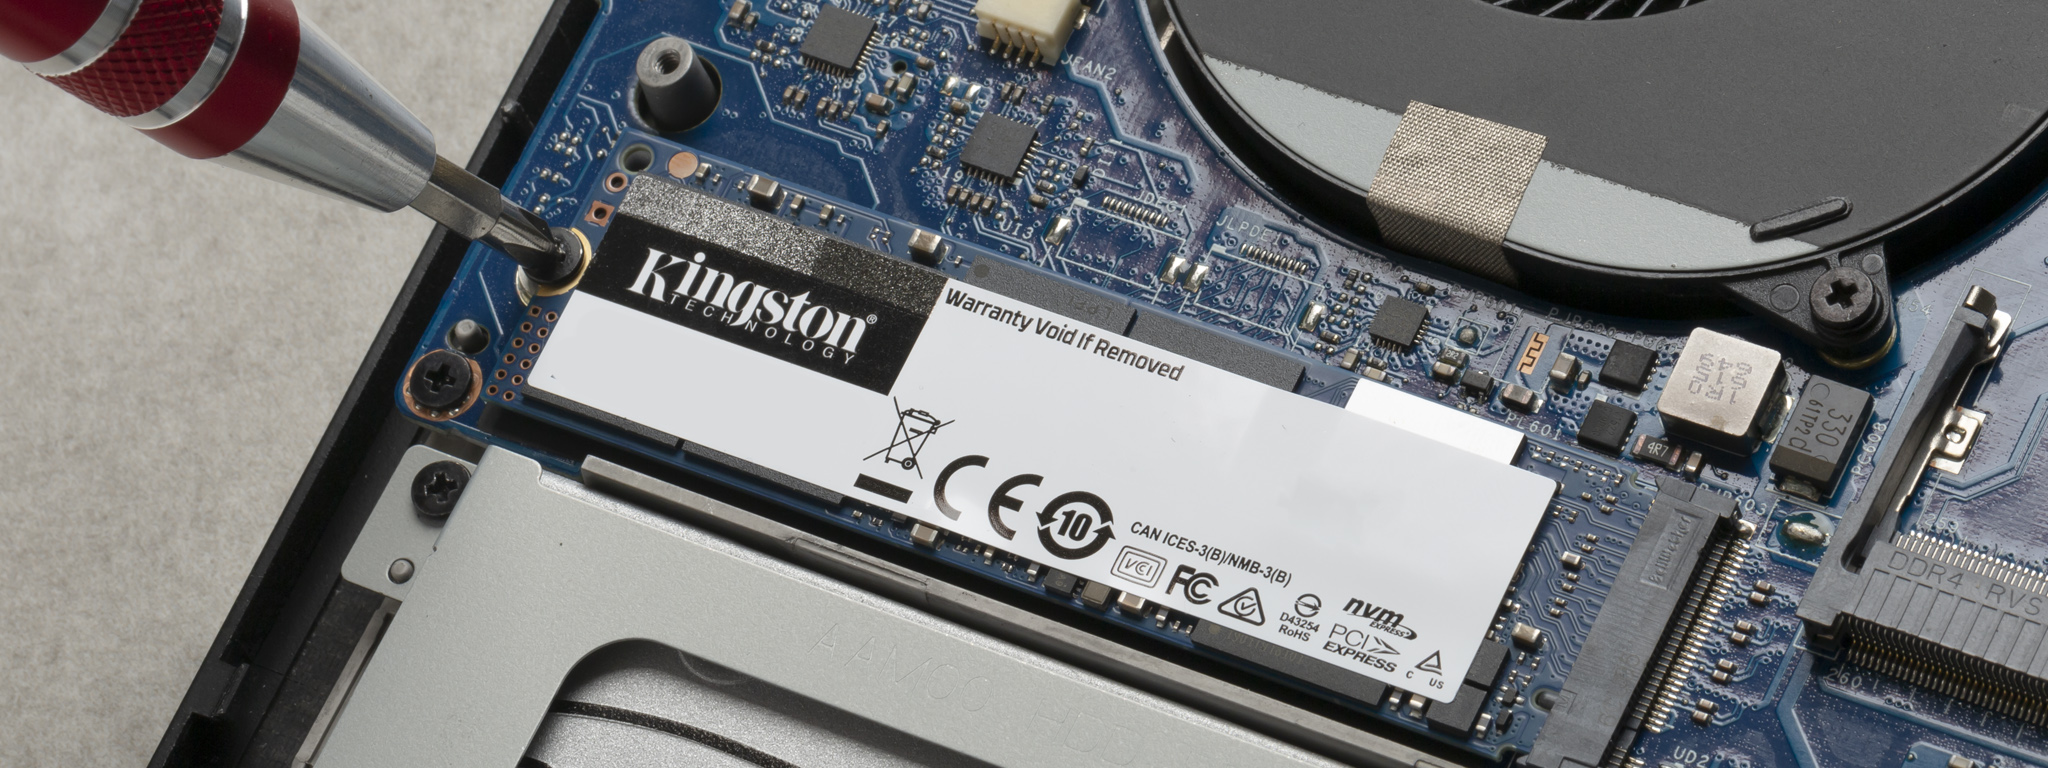
- Insert your Kingston M.2 SSD carefully by holding the SSD by the sides. Make sure to avoid touching the gold connector pins. Align the connectors on the SSD with those on the PCIe slot and insert the M.2 SSD at a 30-degree angle. It should connect easily without having to force the connection.
It might be necessary to screw the M.2 SSD to the mount on the PCIe slot to secure it in place. Be careful not to overtighten the screw or you can risk damaging the SSD. It’s a good idea to refer to your owner’s manual for this step. - Reassemble your computer. After installing the M.2 SSD, put your desktop computer back together. If you’re working with a laptop or notebook, remember to put your battery back in if you removed it.
- Turn on your computer. Your computer should be booting up from your old storage drive unless you removed it before installing your new SSD. Now it’s time to clone the data from your old storage drive to your new M.2 SSD.
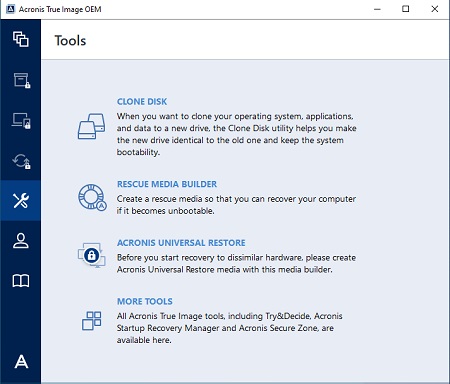
Step 3: Cloning your M.2 SSD
- Download the cloning software. If you didn’t receive the Acronis Cloning software as part of a Kingston SSD bundle kit, download the Acronis Cloning software here. You’ll need to activate the software by creating an account and following the activation instructions.
- Start application. Once you’ve completed activating Acronis Cloning software, launch the Acronis True Image OEM application and click Clone Disk.
- Select Clone Method. Select the Automatic clone method and click Next.
- Select Source Disk. Select the source disk that you wish to clone from and click Next.
- Select Destination Disk. Select the destination disk that you wish to clone to and click Next.
- Summary. Confirm that you selected the correct source and destination disks. You may also review the changes to the destination disk under Before and After. Click Proceed to begin the data transfer operation.
- Data transfer. A notification will appear letting you know it is time to restart your computer. Close any other open applications and click Restart when you are ready.
The system will boot into the Acronis cloning application and the data transfer operation will begin. When the data transfer is complete your computer will shut down. - The cloning process is now complete. While the computer is completely shut down, you can remove your old storage drive. Once you turn on your computer again, it will boot up from your new M.2 SSD.
Step 4: Download the SSD Manager
Kingston® SSD Manager is an application that provides users with the ability to monitor and manage various aspects of their Kingston SSD. You’ll be able to monitor the drive health, status and disk usage.
Download the Kingston SSD Manager and follow the installation process here.
- After download, launch the SSD Manager.
This software allows you to monitor the device information and health status. You can improve the performance of your new SSD by using the system resources. - Run the SSD Manager software and follow the installation process. When launching for the first time, the SSD Manager will scan your computer for disk drives.
- You have now completed installing the Kingston SSD Manager. It may require you to restart your computer after completing the installation.
Congratulations on installing your new Kingston M.2 SSD! You’ll be able to experience the storage advantages of the SSD and see an improvement in your computer’s performance from boot times to storage recall speeds.
#KingstonIsWithYou
Related Videos
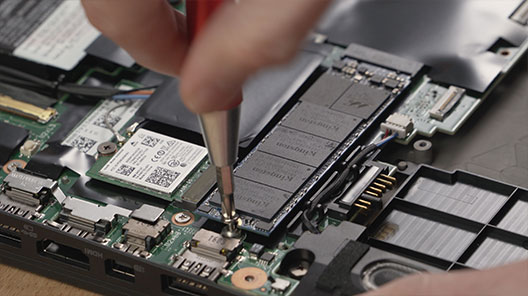
How to Install an M.2 SSD in a Laptop
It’s easy to install an M.2 SSD into a laptop computer. We’ll show you how.
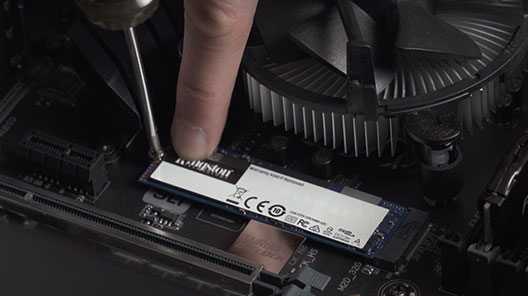
How to Install an M.2 SSD in a Desktop PC
It’s easy to install an M.2 SSD into a desktop PC. We’ll show you how.
