Acronis® True Image™ OEM Download, Installation, and Activation Instructions
Description
Acronis® True Image™ OEM is an integrated software suite that allows you to back up your entire disk drive or selected partitions, clone your operating system, restore from data previously backed up and create bootable media from USB drives or CD/DVD discs.
Requirements
- Windows® 10, 8.1, 8, 7 (SP1), Vista (SP2) (admin rights required)
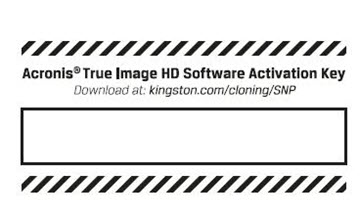
- 16 character short key
- Internet access for product activation
Download
Click “Download Acronis” and follow the instructions to install the software.
Installation Instructions
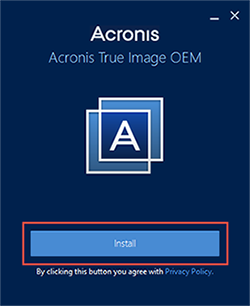
Locate your Acronis® download and double-click the file to begin the installation.
Click Install to install the application.
Click Start application once the installation is complete.
Read through the License Agreement and accept it in order to proceed.
Activation Instructions
Step 1 – Create Account
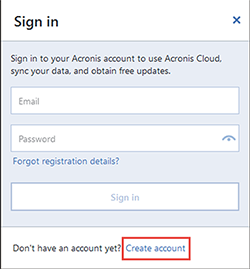
Click Create account to create a new account. You may also sign in if you have already created an account.
To create an account you will need to provide:
- Your name
- Your email address
- A password
Click the Create account button once you have provided this information.
You will be prompted to enter your 64 character long key. Complete the next steps to receive your long key.
Note: You may also create an account using the link below:
https://www.acronis.com/en-us/my/box/oem/
Step 2 – Check Email
Acronis® will send a confirmation email to the email address used in the previous step.
Locate the email, open it, and click the Confirm Your Account button. You will have 5 days to complete this step.

Step 3 – Product Registration
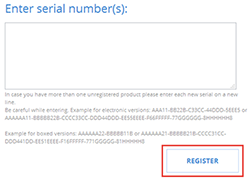
Next you will be taken to your Acronis® online account. Click on Product Registration on the left and carefully type your 16 character short key in the box. Then click Register.
Read and accept the Acronis® Terms and Conditions in order to proceed.
Your 64 character long key should now be accessible in your Acronis® online account. You will also receive your 64 character long key via email.
Step 4 – Product Activation
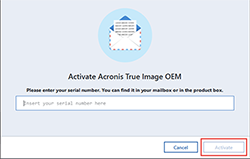
Locate your 64 character long key. Copy and paste the key into the Acronis® application and click Activate.
Quick Start
Once you have attached your Kingston SSD to your system you may begin the cloning process.
Step 1 – Start Application
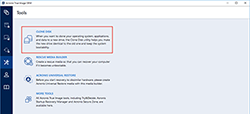
Launch the Acronis® True Image OEM application and click Clone Disk.
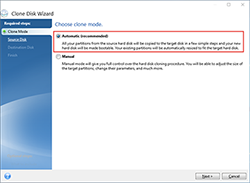
Step 2 – Select Clone Method
Select the Automatic clone method and click Next.
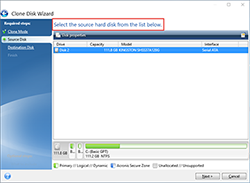
Step 3 – Select Source Disk
Select the source disk that you wish to clone from and click Next.
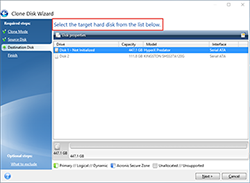
Step 4 – Select Destination Disk
Select the destination disk that you wish to clone to and click Next.
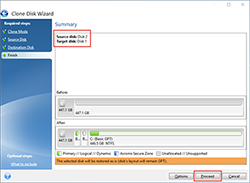
Step 5 – Summary
Confirm you selected the correct source and destination disks. You may also review the changes to the destination disk under Before and After. Click Proceed to begin the data transfer operation.
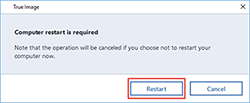
Step 6 – Data Transfer
A notification will appear letting you know it is time to restart your computer. Close any other open applications and click Restart when you are ready.
The system will boot into the Acronis® cloning application and the data transfer operation will begin.
When the data transfer operation is complete your computer will shut down.
Step 7 – Cloning Complete
The cloning process is now complete. While the computer is shut down you may disconnect the source disk from your computer. Now turn on your computer and you will boot to your Kingston SSD.
Additional Information
For additional information related to the Acronis® True Image™ OEM software, please refer to the appropriate User Guide.
Note for MAC and Linux Users
The Acronis® True Image™ OEM software is not compatible with Mac OS or Linux distributions.