Have you noticed that dust is starting to build up on your gaming system causing it to overheat? All gaming computers are susceptible to dust and dirt, and if you put off cleaning your system for too long, you might end up damaging your components and impacting your gaming performance. It’s inevitable that dust will end up in your system, whether you use it all the time, or play once a week, gaming computers love dust. We suggest you clean your computer every three to six months to keep your system looking its best and to prevent a significant reduction in your PC’s lifespan. It’s also a good idea to take the time to clean up the inside of your computer, such as deleting any old files or applications or even installing a fresh copy of Windows. Cleaning your system is not as hard as you might think! Check out our step-by-step guide below.
Physically cleaning your computer
- Turn off your PC and unplug the power cable. This will ensure your safety.
- It’s a good idea to move your PC to somewhere well ventilated, otherwise, any dust you remove will settle back on the computer.
- The dirtiest parts of a case are usually the top and bottom since this is where the dust settles. Wipe down the exterior of your case with a damp cloth.
- The insides are a little trickier. The best thing to use to remove dust is a can of compressed air. Remove the side or front panels of the case and then use the compressed air to clear the dust from any dust filters. Any obvious collections of dust at the bottom of the case can be wiped away or if you’re very careful a vacuum might also do the job.
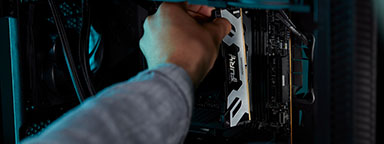
- If you know how to remove your components, it can be a good idea to remove everything from the case and remove any dust using short bursts of air.
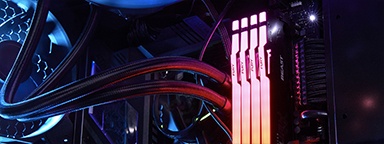
- Before you put your system back together, we recommend doing some cable management to ensure that there is a cleaner passage of air running through your system. You could also pressurise your case so that you minimise the amount of dust that will build up before your next clean.
